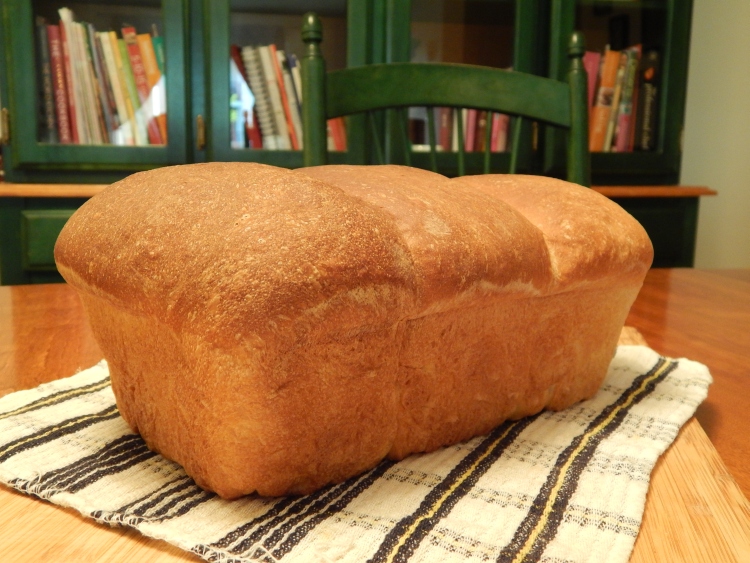
White Bread (without a bread maker!)
Nothing beats the smell of fresh bread baking in the oven. I’ve tried a number of recipes over the years and this one turned out absolutely perfect. The bread rose beautifully and wasn’t dense like a cake (as many other recipes I’ve tried out tend to be). The crust was crispy and the inside fluffy and moist.
White Bread
Yield: 2 medium-sized loaves
Ingredients:
1/2 cup lukewarm water
3 tbsp sugar
1 pkg (5 grams) traditional active dry yeast
5 cups (approximately) all purpose or bread flour
2 tsp fine salt
3 tbsp melted butter
2 cups lukewarm whole milk
Method:
- Dissolve 1 tbsp of sugar in 1/2 a cup of lukewarm water. Sprinkle the yeast over the surface of the water and let stand for about 15 minutes until the yeast foams well, then stir it up.If you prefer to use instant yeast, just add it to the flour mixture in the instruction below.
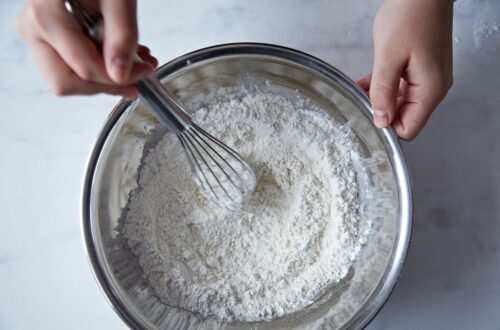
- Combine 3 cups of the flour along with 2 tbsp sugar and salt in a large bowl (or in the bowl of a large electric mixer that uses a dough hook).
- Add the prepared yeast, melted butter and warm milk to the flour mixture.
- Using a wooden spoon (or the regular paddle of your electric mixer) mix for 4-5 minutes until the mixture is smooth with no lumps.
-
If using an electric mixer, switch to the dough hook at this point and begin to slowly incorporate the remaining 2 cups of flour. If not using an electric mixer, keep mixing in the flour gradually until a soft dough forms that leaves the sides of the bowl.
(Note: You may need to use a little more or a little less flour than indicated. Add only enough flour to form a dough that releases from the sides of the bowl and remains slightly tacky but able to be handled with your bare hands) - Turn the dough out onto the counter top or bread board to knead.
- Knead the dough for an additional 10 minutes either in the electric mixer or using your hands on a bread board or counter top.
- Cover dough and leave to rest and rise for one hour. Punch the dough down and knead it for a few minutes by hand before letting it rest for another 10 minutes.
- Grease 2 medium loaf pans. Divide the dough into 4-6 equal portions. Form each division into a ball. Place 2 or 3 balls of dough in each loaf pan. Cover with a clean tea towel and allow the dough to rise until it is about 2 inches above the rim of the pan, about 2 hours depending on room temperature.
- (NOTE: At this stage, the bread dough can be cold proofed overnight in the fridge if you want to serve it freshly baked early the next day or just want to save time in advance. Just cover the pans with a clean tea towel. You can spray the surface of the dough with water from a spray bottle to prevent the surface of the dough balls from becoming too dry if you like but this is not really necessary with the humidity in most fridges. Just remove the pans from the fridge in the morning and allow them to finish raising to about 2 inches above the pan rim, which could be another 1-2 hours and bake as directed.)
- Bake at 350 degrees F for 30-40 minutes depending on the size of the pans that you are using. The loaves should have a golden crust and sound hollow when tapped to be fully baked.
- When baked, turn loaves out onto a wire rack to cool. Brush the tops with melted butter if desired to soften the top crust.
Note: This recipe is from a blog in Newfoundland called Rock Recipes.